
baked chicken fingers recipe

The Best baked chicken fingers recipe
Okay, so there’s something about crispy, golden-fried chicken fingers that just hits the spot every time. I’ve been making them since I was raising my own kids, and I’ll tell you—there’s nothing quite like the first bite of something that’s perfectly balanced: tender inside, crunchy outside, and just a little bit sweet or savory. They’re the kind of dish that feels like a little treat, but they’re also so simple that they don’t take forever to whip up. My family loves them because they’re easy to eat, fun to make, and they’re always a hit with picky eaters—even the ones who don’t usually touch chicken. Plus, they’re versatile. You can serve them with ketchup, honey mustard, or even a tangy yogurt dip, and they’ll still be a crowd-pleaser.
I love this recipe because it’s not just about the taste—it’s about the whole experience. Whether it’s a school night when everyone’s starving or a special occasion where you want something quick but impressive, these fingers never let me down. They’re great for meal prep too, if you’re the type who likes to have snacks ready in advance. And the best part? They’re healthier than you’d think if you use the right ingredients. Skip the heavy breadcrumbs and go for whole wheat or almond flour for a lighter touch, and you can still get that crispy texture without all the guilt. My kids and I have made them so many times that I’ve even started to take them for granted, but every time we pull them from the oven, I remember why they’re still my go-to favorite.
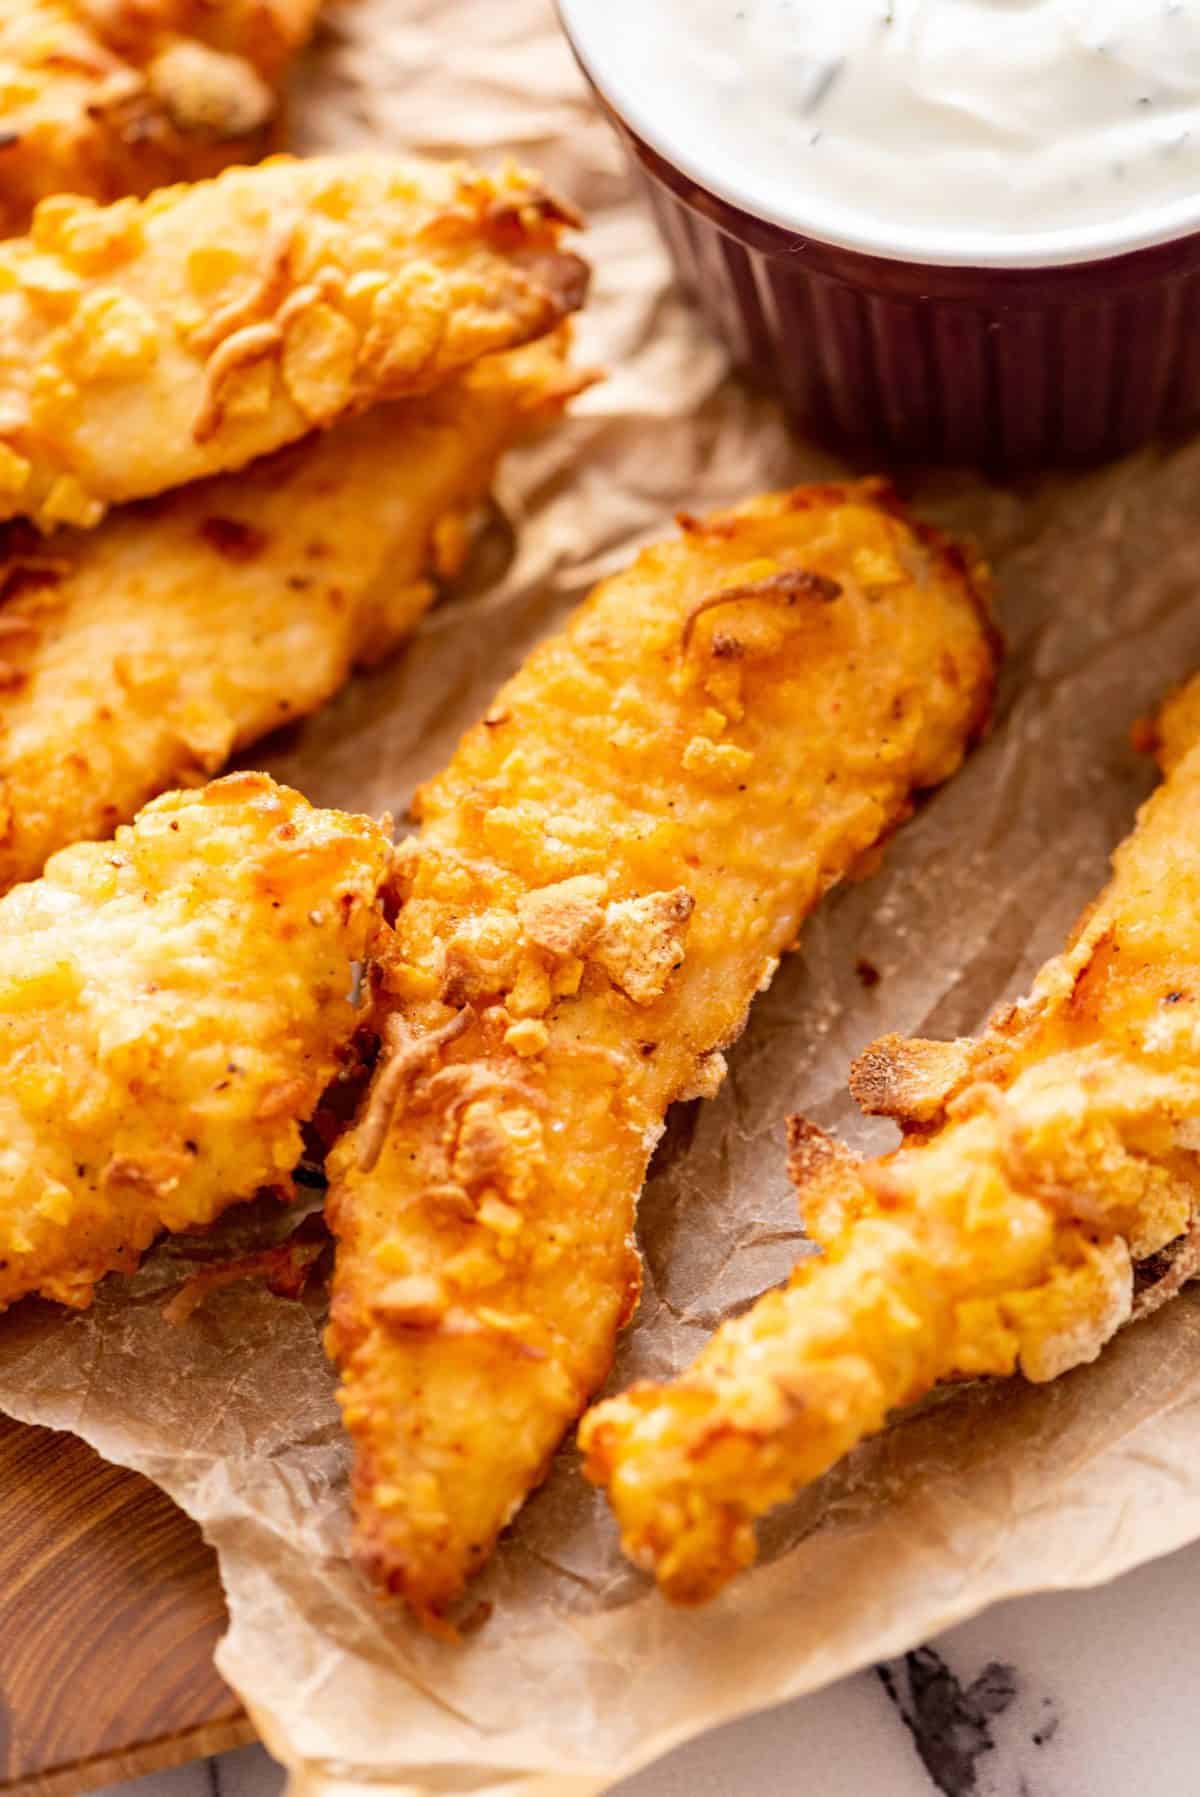
Crispy Baked Chicken Fingers
A delicious and healthier alternative to fried chicken fingers, baked to perfection with a crispy coating and a tangy tomato sauce. This recipe is a must-try for any occasion.
🥘Ingredients
- 2 cups all-purpose flour
- 1 tsp salt
- 1 tsp garlic powder
- 1 tsp paprika
- ½ cup breadcrumbs
- 1 egg
- 2 tbsp milk
- 1 cup ketchup
- ½ cup mayonnaise
- 1 tbsp Dijon mustard
- 1 tbsp apple cider vinegar
- 1 tsp onion powder
- ½ tsp garlic powder
- 4 boneless, skinless chicken breasts
- 1 tbsp olive oil
👨🍳Directions
-
1 Preheat oven to 425°F (220°C). Line a baking sheet with parchment paper.
-
2 Cut chicken breasts into finger-sized strips. Pat dry with paper towels.
-
3 In a large bowl, mix flour, salt, garlic powder, and paprika. Add breadcrumbs and set aside.
-
4 In another bowl, whisk egg and milk. Dip chicken strips in the egg mixture, then coat thoroughly in the flour mixture.
-
5 Place coated chicken strips on the prepared baking sheet, leaving space between them.
-
6 Bake for 15 minutes. Flip chicken strips and drizzle with olive oil. Bake for another 10-15 minutes until golden brown and crispy.
-
7 While chicken bakes, mix ketchup, mayonnaise, Dijon mustard, vinegar, onion powder, and garlic powder to make the sauce.
-
8 Once chicken is done, pour the sauce over the chicken fingers and serve warm.
🔧Equipment
- Mixing bowls
- Baking sheet
- Oven
- Measuring cups and spoons
- Knife and cutting board
- Fork or chicken wire
- Paper towels
📊Nutrition Facts (per serving)
📝Notes
Watch Video Of How Crispy Baked Chicken Fingers Works
This baked chicken fingers recipe is a solid crowd-pleaser for any occasion because it’s simple enough to make ahead of time while still tasting fresh and crispy when served. It’s perfect for family gatherings—whether it’s a casual weeknight dinner or a bigger event—because it’s easy to scale up, holds up well in the fridge, and lets everyone enjoy crispy, flavorful bites without extra fuss. Plus, it’s a great way to keep kids happy while you focus on other tasks.
❓ Frequently Asked Questions About Crispy Baked Chicken Fingers
What is the best way to keep baked chicken fingers from getting soggy?
To keep baked chicken fingers crispy and avoid sogginess, ensure they are fully coated in a thick, well-seasoned breadcrumb or panko crust before baking. Bake at 425°F (220°C) for 15-20 minutes, flipping halfway, and avoid overcrowding the pan. For extra crispiness, broil for 1-2 minutes at the end. Using parchment paper or a wire rack can also help prevent steam buildup.
Can I use store-bought breadcrumbs or panko for the crust?
Yes, you can use store-bought breadcrumbs or panko, but for the best texture, a homemade mix (like whole wheat breadcrumbs, almond flour, and a bit of cornstarch) often yields a crispier result. If using store-bought, ensure they’re dry and mix with a binder like egg wash or breadcrumbs to help them stick better.
How do I make sure the chicken fingers stay juicy inside?
To keep baked chicken fingers juicy, pat the chicken dry thoroughly before coating to prevent a soggy crust. Use a tenderizing marinade (like honey, soy sauce, and garlic) or lightly pound the chicken to ensure even cooking. Baking at the right temperature (425°F/220°C) and flipping halfway helps retain moisture without drying out the meat.
What are some great seasoning combinations for homemade chicken fingers?
Classic seasonings include: – Classic: Garlic powder, onion powder, paprika, salt, and pepper. – Spicy: Cajun seasoning, smoked paprika, cayenne, and a touch of garlic. – Herb: Dried rosemary, thyme, black pepper, and a bit of lemon zest. – Sweet & Tangy: Honey, mustard powder, garlic, and a pinch of cayenne. Mix dry spices with breadcrumbs or panko for a flavorful crust.
Can I freeze baked chicken fingers before or after cooking?
You can freeze baked chicken fingers before cooking for up to 3 months. Place them on a tray to freeze solid, then transfer to a bag or container. Thaw in the fridge overnight before reheating. If freezing after baking, wrap tightly in foil or plastic wrap and reheat directly from frozen (add 2-3 minutes to cooking time). Avoid freezing wet or raw chicken fingers to prevent ice crystals.
