
breaded chicken fingers recipe

- The Best breaded chicken fingers recipe
- Crispy Breaded Chicken Fingers with Classic Sauce
- 🥘Ingredients
- 👨🍳Directions
- 🔧Equipment
- 📊Nutrition Facts (per serving)
- 📝Notes
- Watch Video Of How Crispy Breaded Chicken Fingers with Classic Sauce Works
- ❓ Frequently Asked Questions About Crispy Breaded Chicken Fingers with Sauce
The Best breaded chicken fingers recipe
Oh man, let me tell you why breaded chicken fingers are my favorite thing to cook—both for the kids and when I’m just trying to make something quick and delicious for the whole family. I’ve been making these for years, and there’s just something about that crispy, golden coating that makes every bite feel like a little treat. My kids—especially the ones who used to be picky eaters—would beg for them after their first handful. They’re the kind of dish that feels indulgent but isn’t too heavy, which is perfect for a weeknight dinner or even a fun family gathering. You can make them ahead, freeze them, and pop them in the oven later, so it’s a no-stress recipe that still tastes amazing.
I also love how they’re a great way to sneak in some nutrients without making it feel like a health sacrifice. The breading isn’t just for crunch—it’s where the flavor lives, and you can use whole wheat or low-carb breadcrumbs if you want to cut back on the white stuff. Plus, chicken is lean protein, so it keeps things balanced. My husband always says they’re the only thing he’ll eat that’s technically “healthy,” and honestly, that’s enough for me. They’re so versatile too—dip them in ketchup, honey mustard, or even a simple yogurt sauce, and suddenly it’s a whole different meal. And let’s be real, there’s nothing better than a plate of crispy chicken fingers with a side of fries or coleslaw for a comfort food night. It’s simple, it’s satisfying, and it never fails to make everyone happy.
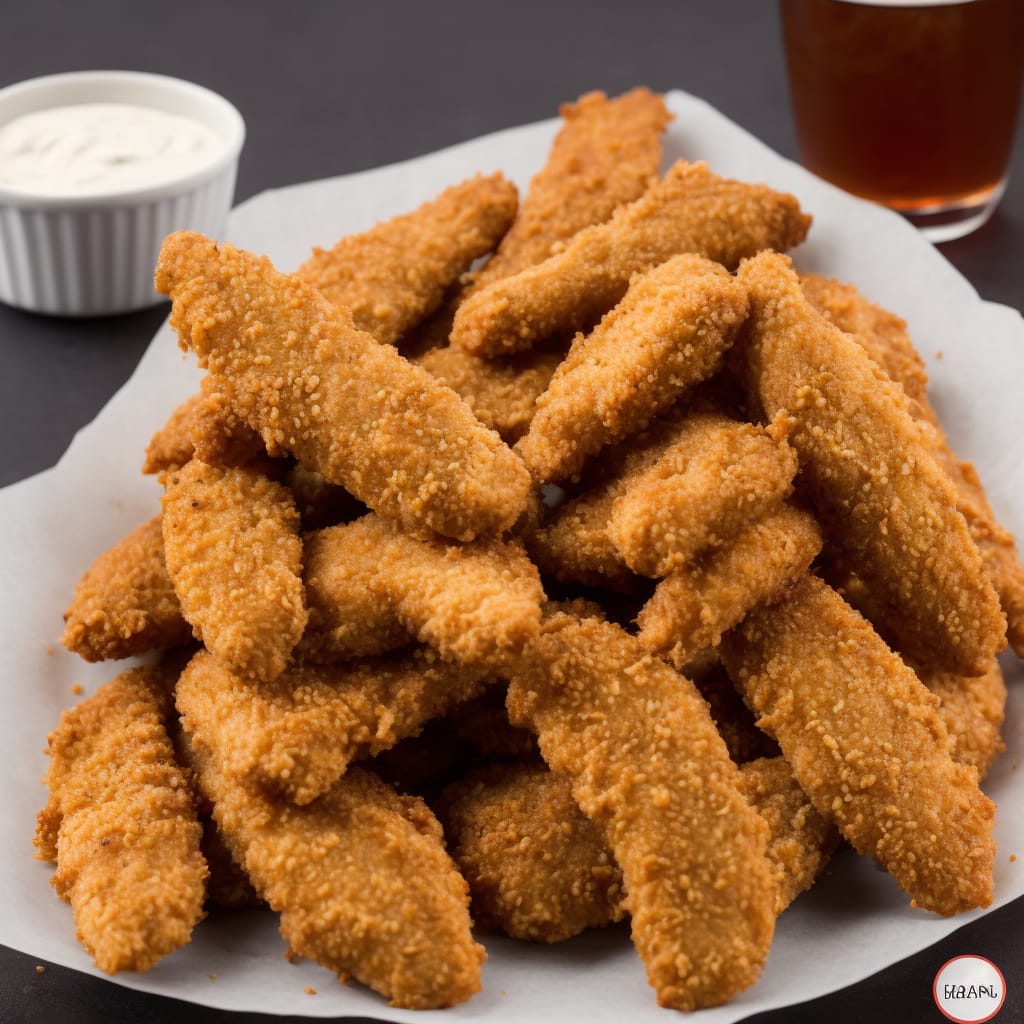
Crispy Breaded Chicken Fingers with Classic Sauce
A classic, crispy, and flavorful recipe for breaded chicken fingers served with a tangy tomato-based sauce. Perfect for a quick and satisfying meal!
🥘Ingredients
- 8 boneless, skinless chicken breasts (cut into finger-sized pieces)
- 1 egg (beaten)
- 1 cup all-purpose flour (mixed with 1 tsp salt and 1 tsp paprika)
- 1 cup ketchup
- 1 tbsp Worcestershire sauce
- 1 tbsp Dijon mustard
- 1 tbsp honey
- 1 tsp garlic powder
- ½ tsp onion powder
- Salt and pepper to taste
👨🍳Directions
-
1 Preheat oven to 425°F (220°C). Line a baking sheet with parchment paper.
-
2 Cut chicken breasts into 1-inch pieces. In a shallow dish, beat the egg.
-
3 In another shallow dish, combine flour, salt, and paprika.
-
4 Dredge each chicken piece in the egg, then coat thoroughly in the flour mixture.
-
5 Place the breaded chicken fingers on the prepared baking sheet in a single layer.
-
6 Bake for 15 minutes, then flip each piece and bake for another 10-12 minutes until golden brown and crispy.
-
7 While chicken is baking, mix ketchup, Worcestershire sauce, Dijon mustard, honey, garlic powder, onion powder, salt, and pepper in a bowl.
-
8 Serve the crispy chicken fingers with the homemade sauce.
🔧Equipment
- Mixing bowls
- Baking sheet
- Oven
- Measuring cups and spoons
- Knife and cutting board
- Frying pan (optional, for pan-frying)
📊Nutrition Facts (per serving)
📝Notes
Watch Video Of How Crispy Breaded Chicken Fingers with Classic Sauce Works
This breaded chicken fingers recipe is always a crowd-pleaser because it’s simple enough to make ahead of time while still tasting fresh when served. It’s perfect for family gatherings because it’s versatile—great for dipping, nugget-style, or even as part of a larger meal—without needing extra fuss. Plus, it’s easy to scale up or down, making it ideal for both casual weeknight dinners and bigger events where everyone wants something crispy and satisfying.
❓ Frequently Asked Questions About Crispy Breaded Chicken Fingers with Sauce
What is the best way to ensure the breading sticks to the chicken fingers for a crispy texture?
To achieve a crispy, well-coated breading, start by patting the chicken fingers very dry with paper towels—this helps the breading adhere better. Use a light but even layer of breadcrumbs mixed with a bit of flour or cornstarch (to prevent clumping) and a binder like beaten egg or milk. Press the breading firmly with your fingers or a spatula while holding the chicken firm. For extra crispiness, double-bread them (first with flour, then egg, then breadcrumbs) or use a breading station (flour, egg wash, and breadcrumb mix) for a more professional finish.
—
Can I use frozen chicken fingers in this recipe, and if so, how do they affect the texture?
Yes, you can use frozen chicken fingers, but they may absorb slightly more oil and can crisp up faster than fresh. To prevent sogginess, pat them extra dry before breading and consider pre-cooking them briefly (3–4 minutes in a hot pan or air fryer) before breading to help them crisp better. For best results, avoid overcrowding the pan to ensure even browning. If using a deep fryer, keep the temperature lower (325°F/160°C) than for fresh chicken to avoid burning the breading too quickly.
—
What are some great substitutions for breadcrumbs in this recipe if I don’t have any?
If you’re out of breadcrumbs, these substitutes work well (though texture may vary slightly): – Crushed crackers (like saltine or water crackers) – adds a crispy crunch but may be slightly less cohesive. – Panko breadcrumbs – holds better and gives a lighter, airier texture. – Crushed tortilla chips (lightly toasted) – adds a fun, crunchy twist but can be greasier. – Oatmeal + crushed cornflakes (blended into a fine mix) – absorbs less oil but adds a subtle sweetness. – Puffed rice cereal (like Cheerios) – great for a lighter, less greasy option. For the best results, mix a few of these with a binder like egg wash or milk to help them stick.
—
How do I avoid making the chicken fingers greasy or oily when pan-frying or air frying?
To keep your chicken fingers from becoming greasy: 1. Use a high-smoke-point oil (like avocado, grapeseed, or vegetable oil) and heat it to the right temperature (350–375°F/175–190°C for pan-frying; 375°F/190°C for air frying). 2. Don’t overcrowd the pan – cook in batches to allow oil to circulate and prevent steaming. 3. Pat the chicken extra dry before breading to reduce oil absorption. 4. Use a wire rack (if baking) or a well-ventilated pan to help crispiness without excess oil. 5. For air frying, spray the basket lightly with oil (not soaking wet) and avoid overfilling the tray. 6. Check early – chicken fingers crisp best at the start of cooking; move them to a paper towel-lined plate once golden to finish cooling slightly.
—
Why do my chicken fingers turn out mushy instead of crispy, and how can I fix it?
Mushy chicken fingers usually happen due to one of these issues: – Overcooking – Remove them from heat as soon as they’re golden (they’ll keep cooking slightly off-heat). For pan-frying, cook for 3–4 minutes total; for air frying, 4–5 minutes. – Not drying the chicken enough – Pat it super dry before breading to prevent a soggy crust. – Using too much oil – If the breading absorbs too much oil, it can make the outside greasy while the inside stays soft. Use a light hand with oil and avoid deep-frying. – Poor baking technique – If baking, ensure the oven is preheated and use a wire rack for even crispiness. Bake at 400°F (200°C) for 12–15 minutes, flipping halfway. Quick fixes: – Re-crisp in a toaster oven (3–4 minutes at 400°F/200°C). – Add a sprinkle of cornstarch to the breadcrumb mix for extra crispiness. – Double-bread (flour → egg → breadcrumbs) for a stronger crust.
