
cast iron chicken thigh recipe

- The Best cast iron chicken thigh recipe
- Crispy Cast Iron Chicken Thighs with Garlic Butter Sauce
- 🥘Ingredients
- 👨🍳Directions
- 🔧Equipment
- 📊Nutrition Facts (per serving)
- 📝Notes
- Watch Video Of How Crispy Cast Iron Chicken Thighs with Garlic Butter Sauce Works
- ❓ Frequently Asked Questions About Crispy Cast Iron Chicken Thighs with Garlic Butter Sauce
The Best cast iron chicken thigh recipe
Cast iron chicken thighs are my go-to when I need something hearty, flavorful, and that holds up well whether I’m feeding a crowd for a family dinner or just whipping up a quick meal for the kids after school. There’s something about the deep, rich taste of these thighs—especially when they’re cooked in a cast iron skillet—that makes them feel like a special treat, even if they’re simple enough to make in under thirty minutes. My kids swear by them, too. They’re not as dry as boneless breasts, and they stay juicy no matter how long they cook, which is a game-changer when you’re serving them with mashed potatoes, roasted veggies, or a fresh salad. Plus, they’re packed with protein and iron, which means they’re a solid choice for keeping everyone full and energized without the mess of extra sides.
I love this recipe because it’s versatile. You can make it for a casual weeknight dinner or pull it out for a holiday spread—just adjust the seasoning and herbs to match the occasion. The cast iron skillet gives the meat that perfect crispy exterior while keeping the inside tender, and the garlic and herbs add just enough depth to make it feel like a restaurant-quality dish. My family doesn’t even notice how healthy it is; they just eat it straight from the pan, and I don’t have to worry about leftovers going to waste. Plus, the cast iron skillet itself becomes a part of the meal, adding that rustic charm that feels comforting and homey. It’s the kind of recipe that makes me smile every time I serve it, whether it’s for a Sunday family dinner or a quick lunch for the kids after a long day.
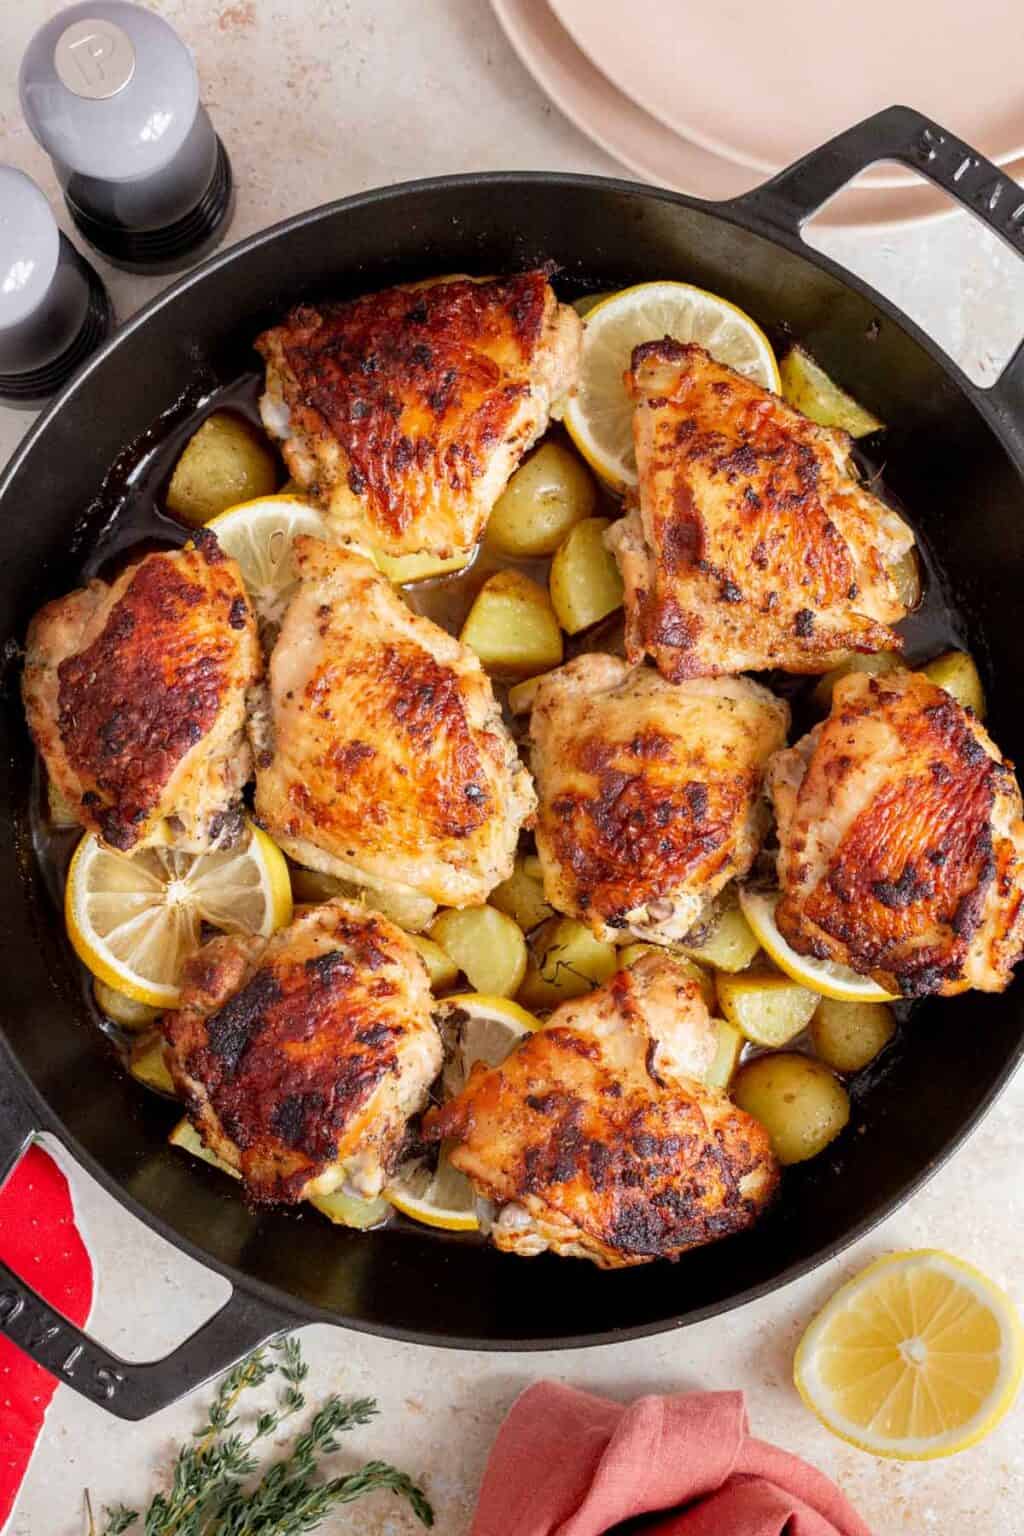
Crispy Cast Iron Chicken Thighs with Garlic Butter Sauce
Juicy, crispy chicken thighs baked in a cast iron skillet with a rich garlic butter sauce. Perfect for a weeknight dinner with minimal effort.
🥘Ingredients
- 6 bone-in, skin-on chicken thighs
- 2 tbsp olive oil
- 1 tsp paprika
- 1 tsp garlic powder
- 1 tsp onion powder
- ½ tsp salt
- ½ tsp black pepper
- 3 tbsp unsalted butter
- 4 cloves garlic, minced
- 1 tbsp lemon juice
- 1 tsp dried thyme
- ½ tsp red pepper flakes (optional)
- Salt to taste
👨🍳Directions
-
1 Preheat oven to 425°F (220°C). Line a baking sheet with parchment paper.
-
2 Pat chicken thighs dry with paper towels. In a bowl, mix olive oil, paprika, garlic powder, onion powder, salt, and black pepper. Rub the mixture evenly over the chicken thighs.
-
3 Place chicken thighs on the prepared baking sheet, skin-side up. Bake for 25 minutes, then flip and bake for another 10 minutes until skin is crispy and internal temperature reaches 165°F (74°C).
-
4 While chicken bakes, melt butter in a skillet over medium heat. Add minced garlic and cook for 1 minute until fragrant. Stir in lemon juice, thyme, red pepper flakes, and a pinch of salt.
-
5 Once chicken is done, transfer it to a plate. Pour the garlic butter sauce into the skillet, simmer for 1 minute, then spoon the sauce over the chicken thighs.
🔧Equipment
- Cast iron skillet
- Mixing bowl
- Knife and cutting board
- Measuring spoons
- Wooden spoon
- Oven
📊Nutrition Facts (per serving)
📝Notes
Watch Video Of How Crispy Cast Iron Chicken Thighs with Garlic Butter Sauce Works
This cast iron chicken thigh recipe is always a crowd-pleaser because it’s foolproof—no fancy techniques required, just solid flavor and tender meat that holds up whether you’re feeding a small family dinner or a big group at a holiday spread. The crispy skin and juicy meat make it a reliable choice for any occasion, whether you’re serving it alongside mashed potatoes, roasted veggies, or even just on its own as a hearty side. It’s the kind of dish that never disappoints, and the cast iron keeps everything perfectly crispy and flavorful every time.
❓ Frequently Asked Questions About Crispy Cast Iron Chicken Thighs with Garlic Butter Sauce
1. What is the secret to making crispy skin on chicken thighs in this recipe?
The secret lies in patting the thighs very dry before seasoning, ensuring they’re fully cooled after cooking, and using a hot oven (475°F/245°C) for the crispy finish. Brining the chicken (optional but recommended) also helps with moisture retention and browning. Avoid overcrowding the pan to maintain high heat for that golden crust.
—
2. Can I substitute chicken thighs with other cuts like drumsticks or legs?
Yes! While thighs are ideal for crispy skin, drumsticks and legs work well too. Just adjust cooking times slightly—thighs take ~25-30 mins, while legs/drumsticks may need ~30-40 mins. Keep an eye on them to prevent overcooking, as bone-in cuts can dry out faster.
—
3. Why does the recipe recommend a two-step cooking method (baking first, then broiling)?
The first step (baking at 425°F/220°C) tenderizes the meat and sears the skin slightly, while the second step (broiling at 500°F/260°C) finishes the crispiness. This combo prevents soggy skin and ensures even browning. If you’re short on time, you can broil directly after searing in the oven, but the two-step method yields the best results.
—
4. How do I prevent the chicken thighs from sticking to the pan or oven tray?
Use nonstick spray or a light coating of oil (like avocado or vegetable oil) on the pan and tray. For extra crispiness, preheat the oven tray for 5 minutes before adding the chicken. Avoid overcrowding the pan, and flip the thighs only once (if using the pan method) to maintain crispiness.
—
5. Can I make this recipe ahead of time and reheat it?
Yes! Store cooked thighs in an airtight container in the fridge for up to 3 days. To reheat, place them on a baking sheet, cover loosely with foil, and broil for 5-8 minutes until heated through. For crispier skin, broil uncovered for 2-3 minutes at the end. Avoid microwaving to preserve texture.
