
chicken breast tenders recipe

- The Best chicken breast tenders recipe
- Crispy Garlic Parmesan Chicken Breast Tenders
- 🥘Ingredients
- 👨🍳Directions
- 🔧Equipment
- 📊Nutrition Facts (per serving)
- 📝Notes
- Watch Video Of How Crispy Garlic Parmesan Chicken Breast Tenders Works
- ❓ Frequently Asked Questions About Crispy Garlic Parmesan Chicken Breast Tenders
The Best chicken breast tenders recipe
Chicken breast tenders are one of my go-to recipes because they’re simple yet always hit the spot—whether I’m feeding a hungry family after a long day or prepping for a weekend meal. They’re quick to make, require minimal cleanup, and let the flavor shine without needing fancy techniques. My kids swear by them because they’re tender, juicy, and not too dry, even when I cut them into bite-sized pieces. They’re the kind of dish that feels special but doesn’t require a big occasion—just good, solid food that everyone can enjoy without fuss.
I love that chicken breast tenders are also a great way to eat healthier. Chicken breast is lean, packed with protein, and low in fat, making it perfect for balancing meals without feeling like you’re sacrificing taste. It’s something I can serve alongside veggies or whole grains, or even use as a base for wraps or salads, so it’s versatile without being complicated. Plus, because they’re so easy to cook, I can prep them ahead and keep them ready for quick meals—like when the kids are still in pajamas and need something fast, or when I’m tired and just want something simple to feed the whole family. They’re that kind of recipe that doesn’t demand attention but still feels like a real effort.
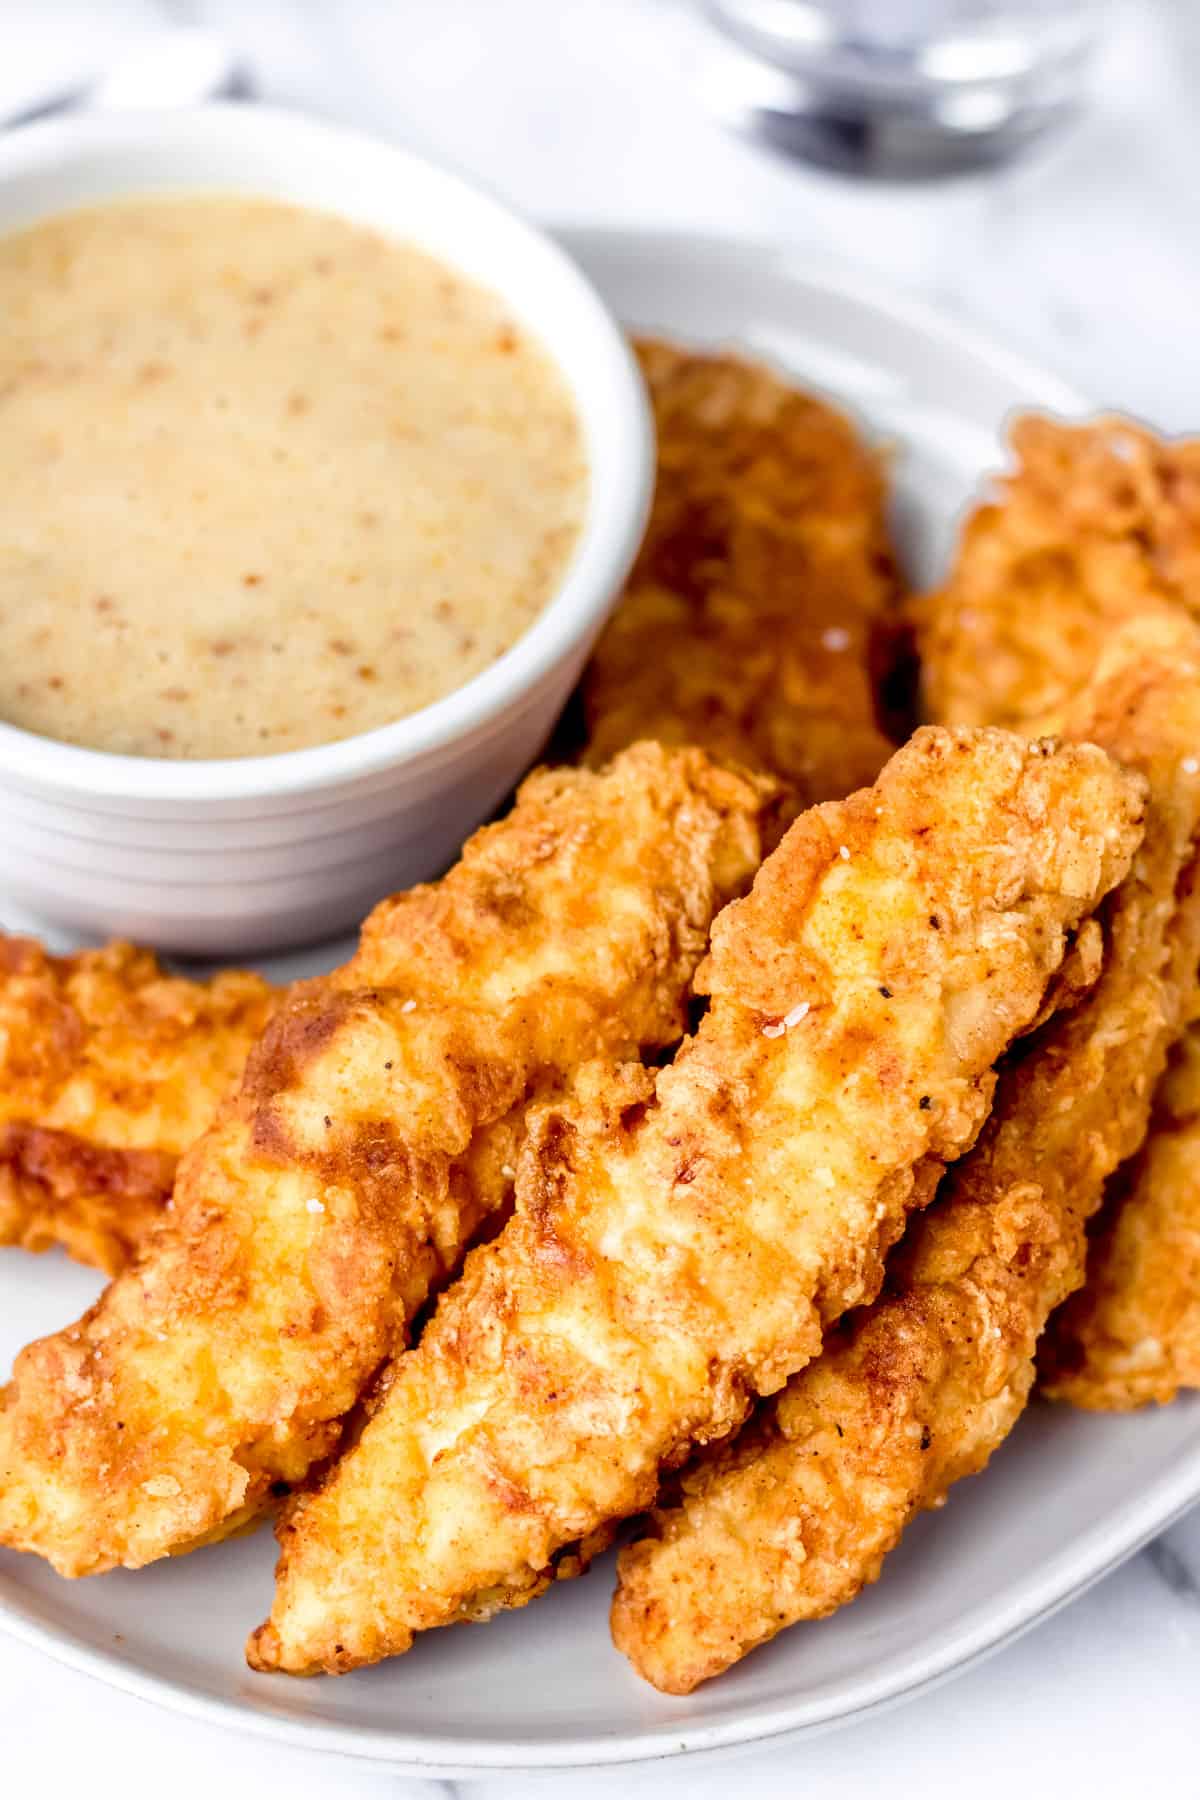
Crispy Garlic Parmesan Chicken Breast Tenders
Tender and juicy chicken breast tenders coated in a light garlic-parmesan batter, baked to perfection with a crispy exterior. Perfect for a quick weeknight dinner!
🥘Ingredients
- 8 boneless, skinless chicken breast tenders (about 6 oz each)
- 1 cup all-purpose flour
- 1 tsp salt
- 1 tsp black pepper
- 1 tsp garlic powder
- 1 tsp paprika
- 1 cup breadcrumbs
- 2 cloves garlic, minced
- ½ cup grated parmesan cheese
- 1 egg, beaten
- 1 tbsp olive oil
- 1 tbsp olive oil (for cooking)
- Lemon wedges
- Fresh parsley, chopped
👨🍳Directions
-
1 Preheat oven to 400°F (200°C). Line a baking sheet with parchment paper.
-
2 In a shallow dish, combine flour, salt, black pepper, garlic powder, and paprika.
-
3 In a separate bowl, beat the egg and mix in olive oil. Set aside.
-
4 In a food processor, blend breadcrumbs, minced garlic, and parmesan cheese until well combined.
-
5 Pat chicken tenders dry with a paper towel. Dredge each tender in the flour mixture, shaking off excess. Dip into the egg mixture, then coat with the garlic-parmesan batter, pressing gently to adhere.
-
6 Place tenders on the prepared baking sheet in a single layer. Brush lightly with olive oil.
-
7 Bake for 20-25 minutes or until tenders are golden brown and internal temperature reaches 165°F (74°C).
🔧Equipment
- Mixing bowls
- Food processor or blender
- Baking sheet
- Oven
- Measuring cups
- Knife
- Cutting board
📊Nutrition Facts (per serving)
📝Notes
Watch Video Of How Crispy Garlic Parmesan Chicken Breast Tenders Works
This chicken breast tender recipe is always a solid choice for any family gathering because it’s simple to prepare ahead of time while still keeping things fresh and flavorful. You can make extra portions and reheat them quickly, so there’s no last-minute stress, and the tender texture holds up perfectly whether you’re serving them as a main dish or alongside sides. It’s versatile enough for casual weeknight meals or special occasions, and the clean flavors make it easy to customize with your favorite seasonings or sauces.
❓ Frequently Asked Questions About Crispy Garlic Parmesan Chicken Breast Tenders
What is the best way to marinate chicken breast tenders for maximum flavor?
The best way to marinate chicken breast tenders is to use a mix of acidic ingredients like lemon juice, vinegar, or yogurt combined with aromatic spices such as garlic powder, onion powder, paprika, and a pinch of salt. For extra moisture, you can also include honey or maple syrup. Marinate for at least 30 minutes, up to 4 hours, in the fridge for best results.
How do I ensure chicken breast tenders stay tender rather than drying out?
To keep chicken breast tenders tender, avoid overcooking by using a meat thermometer to check internal temperature at 165°F (74°C). Brining the chicken for 15–30 minutes in a mixture of water, salt, and a little sugar can also help retain moisture. Additionally, lightly coating the tenders with oil before cooking and using a gentle cooking method like pan-searing or baking can prevent drying.
What are some great side dishes that pair well with chicken breast tenders?
Chicken breast tenders pair beautifully with a variety of sides, such as: – Fresh salads (mixed greens with cherry tomatoes, cucumbers, and a light vinaigrette) – Roasted or grilled vegetables (zucchini, bell peppers, asparagus) – Creamy mashed potatoes or garlic bread – Quinoa or couscous with herbs and lemon zest – Simple coleslaw or pickled onions for a tangy contrast
Can I make chicken breast tenders ahead of time and still keep them moist?
Yes, you can prep chicken breast tenders in advance, but proper storage and cooking methods are key. Marinate the tenders, then refrigerate for up to 24 hours. When ready to cook, thaw them in the fridge overnight and cook fresh to avoid drying out. Alternatively, you can bake or air-fry them after marinating, ensuring they reach the correct internal temperature without overcooking.
What are some common mistakes to avoid when cooking chicken breast tenders?
Common mistakes include: – Overcooking (leaving them in the pan too long or using high heat, which makes them tough). – Skipping the oil (dry chicken tends to dry out; always coat with a light layer of oil). – Not resting the meat (cutting into it immediately after cooking can cause it to dry out). – Using too much salt in the marinade (can draw out moisture; balance with acidity and moisture). – Ignoring the internal temperature (always check with a thermometer to ensure safe and tender cooking).
