
oven fried chicken recipe

The Best oven fried chicken recipe
I’ve been making this oven-fried chicken for years, and it’s one of those recipes that just never gets old. It’s crispy, flavorful, and way easier than standing over a pot of hot oil—plus, it’s a lifesaver on busy weeknights when I need something quick but still satisfying. My kids absolutely love it, and honestly, so do I. There’s something about that golden, crunchy coating that makes it feel like a treat, even though it’s baked, not fried.
What I really appreciate about this recipe is how versatile it is. It works just as well for a casual family dinner as it does for a weekend gathering with friends. And because it’s oven-baked, it’s lighter than traditional fried chicken but still packed with flavor. The coating stays crispy, the meat stays juicy, and you don’t have to deal with the mess or the extra calories from deep frying. Plus, it’s a great way to get a protein-packed meal on the table without a ton of effort. If you’re looking for a simple, crowd-pleasing dish that doesn’t skimp on taste, this is the one.
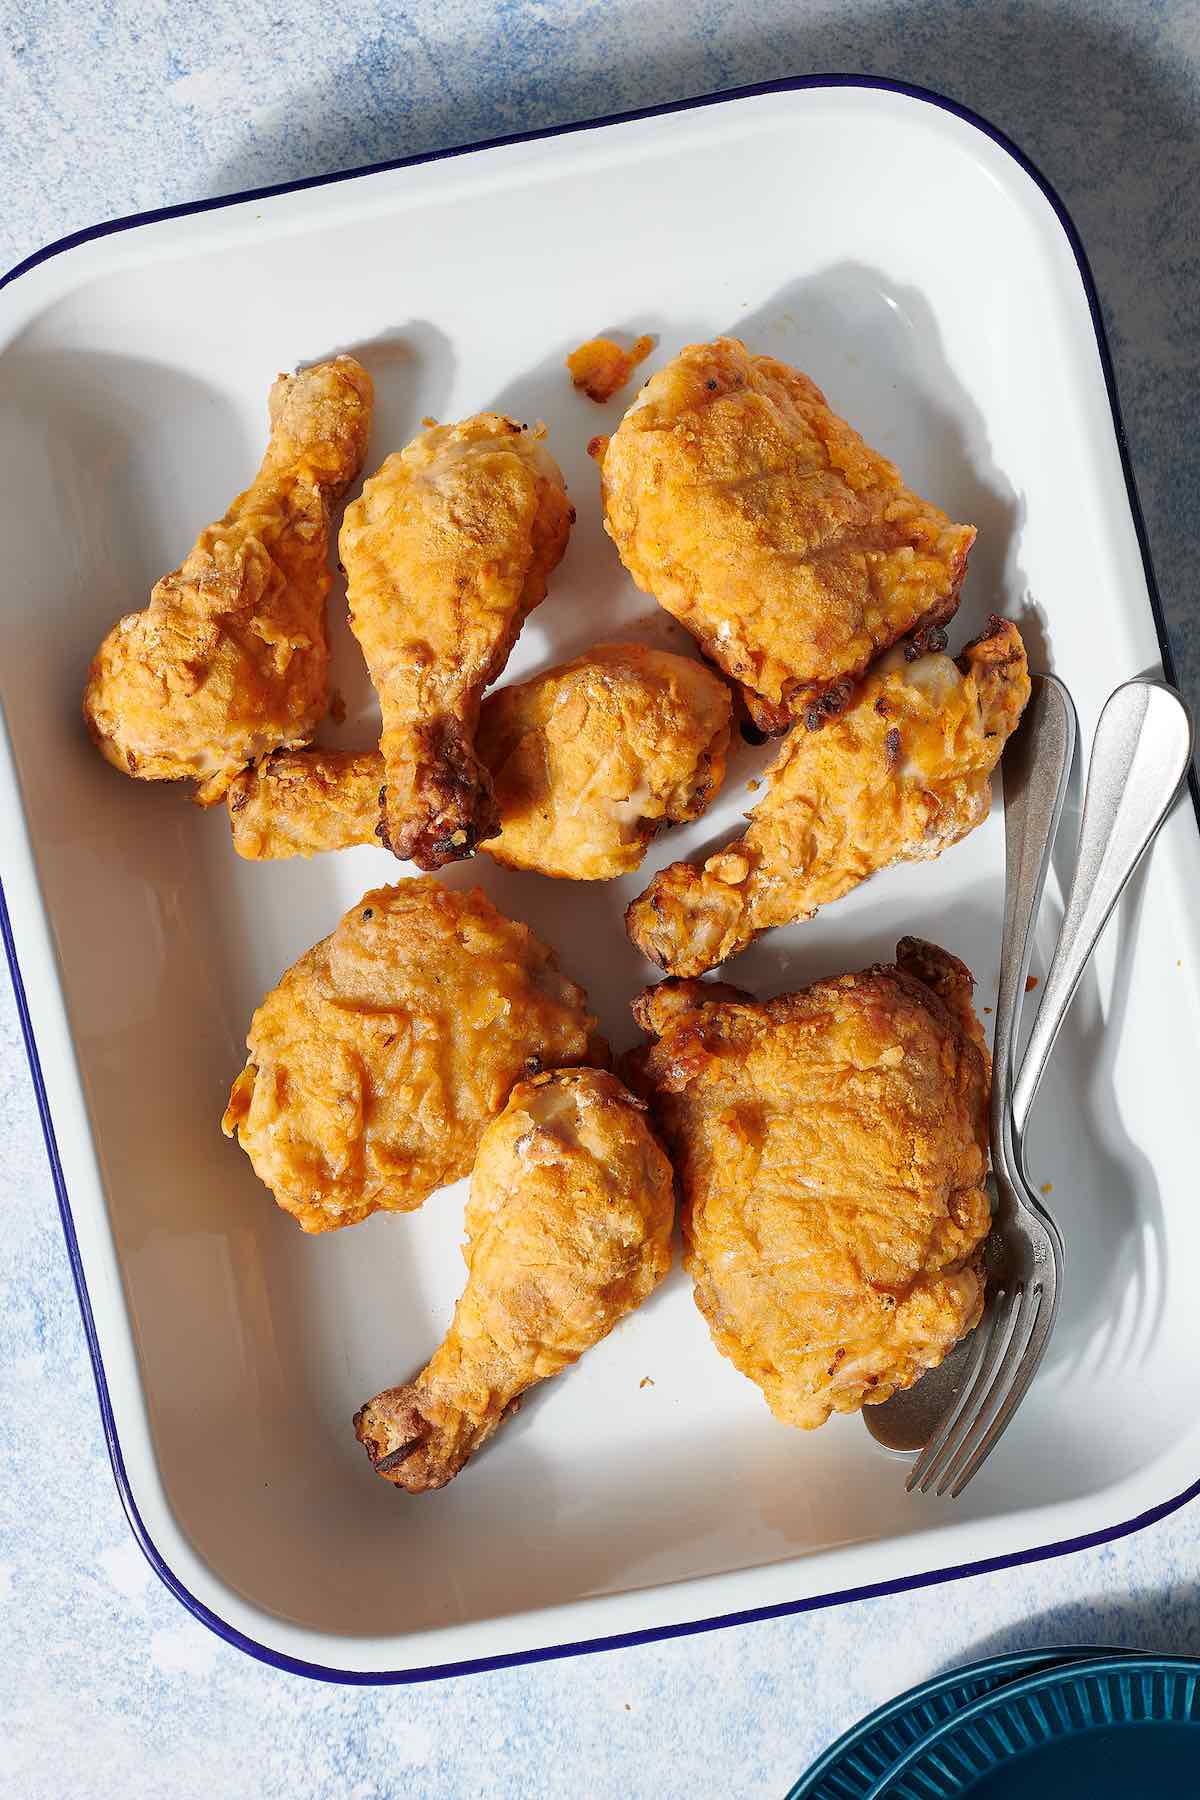
Crispy Oven-Fried Chicken
A healthier take on classic fried chicken, this oven-fried version delivers crispy, golden-brown results with less oil. Perfect for a quick weeknight dinner or a family meal with all the crunch and flavor you love.
🥘Ingredients
- 4 boneless, skinless chicken breasts (or thighs)
- 1/2 cup buttermilk
- 1 tsp hot sauce (optional)
- 1 cup all-purpose flour
- 1/2 cup panko breadcrumbs
- 1/2 cup grated Parmesan cheese
- 1 tsp paprika
- 1 tsp garlic powder
- 1 tsp onion powder
- 1/2 tsp salt
- 1/2 tsp black pepper
- 2 tbsp olive oil (or melted butter)
👨🍳Directions
-
1 Preheat your oven to 425°F (220°C) and line a baking sheet with parchment paper or aluminum foil. Lightly grease the paper or foil with oil or cooking spray.
-
2 In a shallow dish, combine the buttermilk and hot sauce (if using). Add the chicken pieces and let them marinate for at least 10 minutes, or up to 30 minutes for extra tenderness.
-
3 In a separate bowl, mix together the flour, panko breadcrumbs, Parmesan cheese, paprika, garlic powder, onion powder, salt, and black pepper.
-
4 Drizzle the olive oil (or melted butter) over the dry coating mixture and stir until the mixture is evenly moistened and clumps together slightly.
-
5 Remove each piece of chicken from the buttermilk, allowing any excess to drip off, then dredge it in the coating mixture, pressing gently to adhere. Place the coated chicken on the prepared baking sheet.
-
6 Bake for 20-25 minutes, flipping the chicken halfway through, until the coating is golden brown and crispy, and the internal temperature reaches 165°F (74°C).
-
7 Let the chicken rest for 5 minutes before serving to allow the coating to set. Serve with your favorite dipping sauce or sides.
🔧Equipment
- Mixing bowls
- Shallow dish
- Baking sheet
- Parchment paper or aluminum foil
- Tongs
- Measuring cups and spoons
- Oven
📊Nutrition Facts (per serving)
📝Notes
Watch Video Of How Crispy Oven-Fried Chicken Works
This oven-fried chicken recipe is one of those foolproof dishes that always delivers—crispy on the outside, juicy on the inside, and simple enough to make any night of the week. It’s a crowd-pleaser that works just as well for a casual family dinner as it does for a weekend cookout or potluck, because let’s be honest, everyone loves good fried chicken without the mess of deep-frying. Plus, it’s easy to double or triple for a bigger group, so you can spend less time in the kitchen and more time enjoying the people around your table.
❓ Frequently Asked Questions About Crispy Oven-Fried Chicken
1. Can I use boneless, skinless chicken breasts instead of thighs for oven-fried chicken?
Yes, you can use boneless, skinless chicken breasts, but they may dry out more easily than thighs. To prevent this, brine the breasts in saltwater (1/4 cup salt per 4 cups water) for 30 minutes before coating and baking. Also, reduce the baking time by 5–10 minutes and check for doneness with a meat thermometer (165°F/74°C).
2. What’s the best way to get the coating to stick to the chicken?
For maximum crispiness and adhesion, pat the chicken dry with paper towels before dredging. Then, dip it in flour, followed by beaten eggs (or buttermilk), and back into the flour mixture. Press the coating firmly onto the chicken. For extra crunch, let the coated chicken rest for 10–15 minutes before baking.
3. Can I make this recipe gluten-free?
Absolutely! Replace the all-purpose flour with a gluten-free 1:1 baking flour blend or almond flour. For the best texture, add 1/2 teaspoon xanthan gum to the flour mixture. Use gluten-free breadcrumbs or crushed gluten-free cornflakes for the outer coating if needed.
4. How do I keep the chicken crispy after baking?
To maintain crispiness, avoid covering the chicken while it rests. If reheating leftovers, use an oven or air fryer (350°F/175°C for 5–10 minutes) instead of a microwave. Placing the chicken on a wire rack over a baking sheet while baking also helps air circulate for even crispiness.
5. Can I prep the chicken ahead of time and bake it later?
Yes! Coat the chicken and arrange it on a baking sheet, then refrigerate (unbaked) for up to 24 hours. When ready to bake, let it sit at room temperature for 15–20 minutes before cooking. Add 5–10 extra minutes to the baking time if starting from cold. Avoid freezing pre-coated chicken, as the coating may become soggy.
