sheet pan chicken thigh recipe

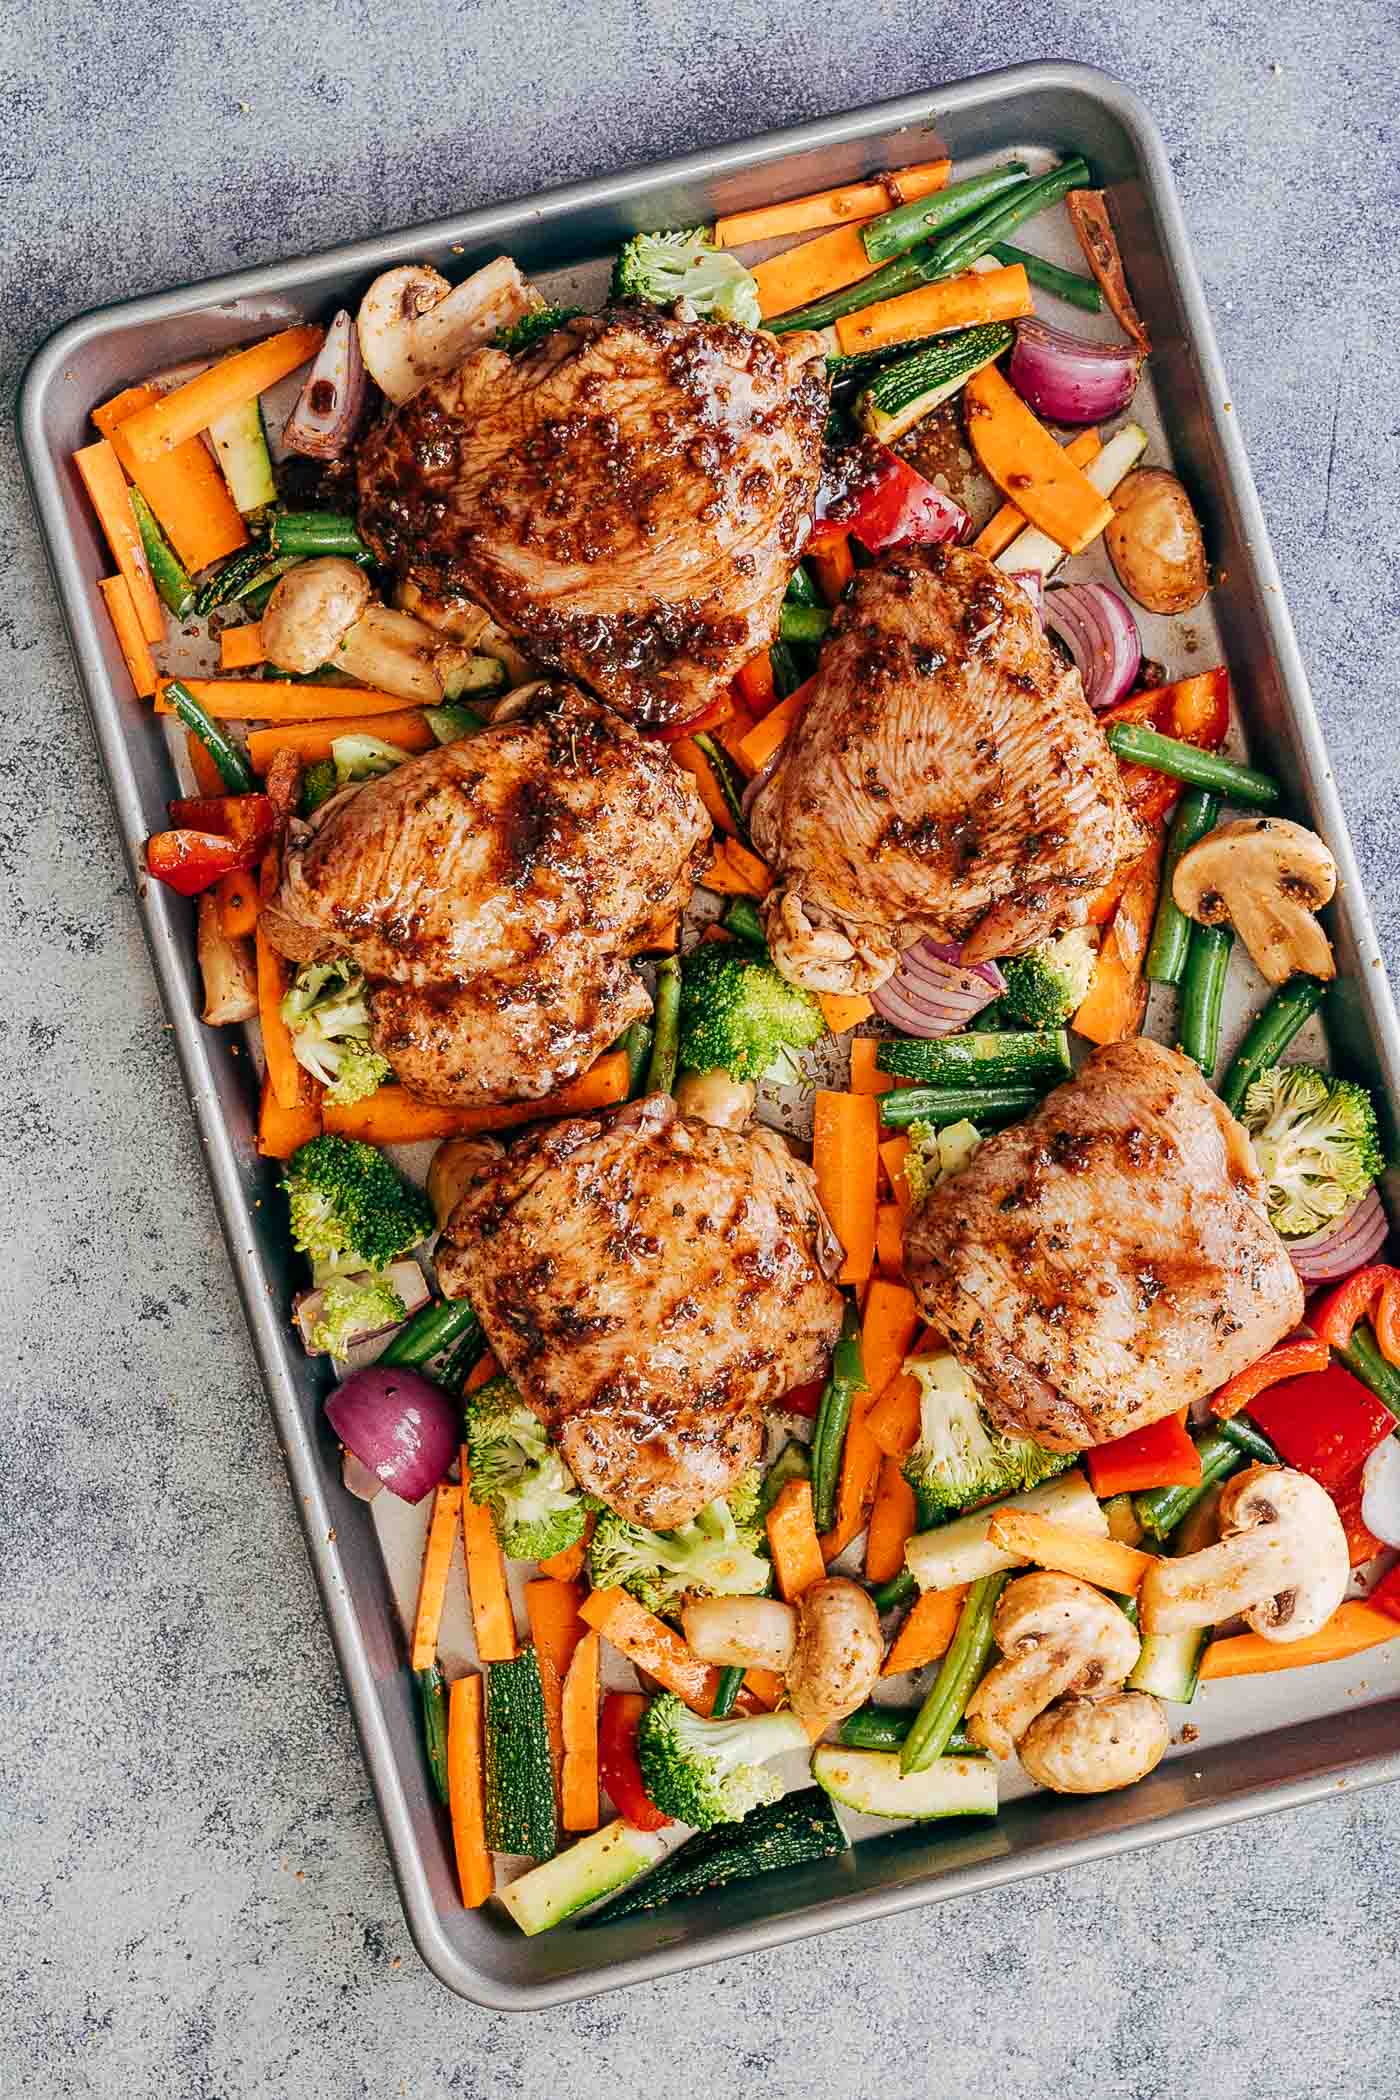
- The Best sheet pan chicken thigh recipe
- Sheet Pan Honey Garlic Glazed Chicken Thighs
- 🥘Ingredients
- 👨🍳Directions
- 🔧Equipment
- 📊Nutrition Facts (per serving)
- 📝Notes
- Watch Video Of How Sheet Pan Honey Garlic Glazed Chicken Thighs Works
- ❓ Frequently Asked Questions About Sheet Pan Honey Garlic Glazed Chicken Thighs
The Best sheet pan chicken thigh recipe
This recipe for sheet pan chicken thighs has been a go-to for me since my kids were little—simple enough to throw together on busy weeknights but always satisfying enough for a special dinner.
I love how the chicken stays juicy and flavorful without needing much fuss, and the fact that it cooks all in one pan means less cleanup. My family adores it because it’s hearty enough to fill everyone up, yet light enough that it doesn’t feel like a heavy meal.
The kids especially like the crispy skin and the way the flavors meld together, and honestly, it’s one of those recipes that feels like a little treat without being one—perfect for weeknight dinners or even a casual Sunday supper.
Click here for: shake n bake chicken recipe
I also appreciate how this recipe balances health and taste. Chicken thighs are leaner than breasts when cooked properly, and the sheet pan method keeps the fat from burning off too much while still giving that crispy texture.
The veggies we toss in—like bell peppers, onions, and zucchini—add fiber and nutrients without overpowering the dish. It’s a way to feed the whole family without making them feel like they’re eating something too bland or processed.
Plus, it’s foolproof for when life gets hectic, whether it’s a school night or a weekend when we’re all just craving something easy and delicious. My kids will eat this every time, and honestly, so will I.
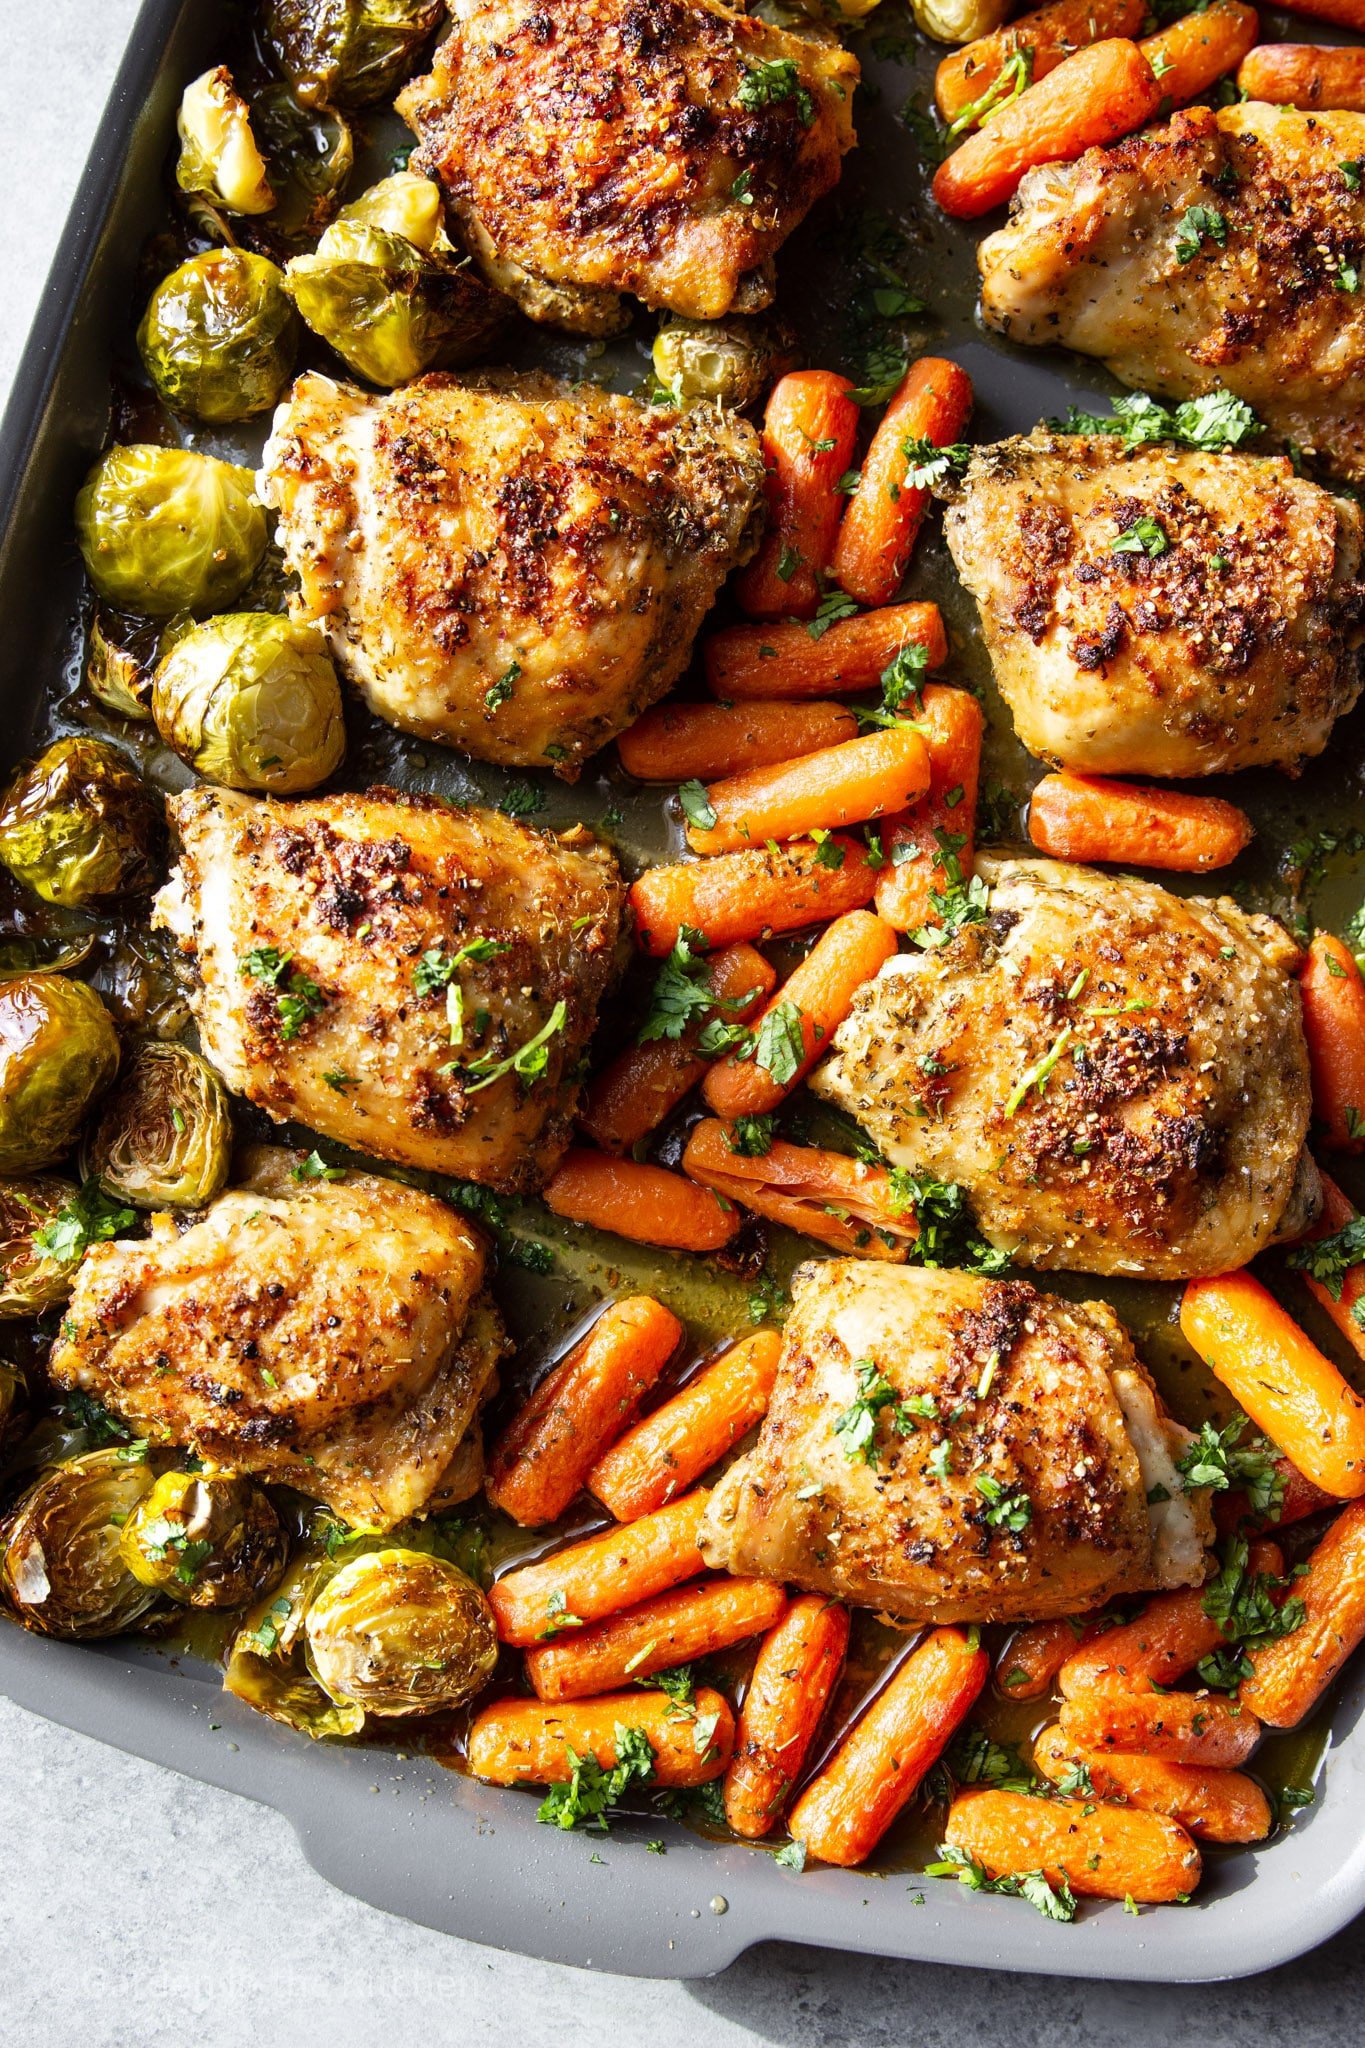
Sheet Pan Honey Garlic Glazed Chicken Thighs
Tender chicken thighs coated in a sweet and savory honey garlic glaze, baked to perfection on a single sheet pan for easy cleanup. This recipe is a must-try for any occasion.
🥘Ingredients
- 6 bone-in, skin-on chicken thighs
- 2 tbsp olive oil
- 1 tsp paprika
- 1 tsp garlic powder
- 1 tsp onion powder
- ½ tsp salt
- ½ tsp black pepper
- 3 tbsp honey
- 3 tbsp soy sauce
- 2 tbsp ketchup
- 2 cloves garlic, minced
- 1 tbsp apple cider vinegar
- 1 tsp Dijon mustard
- ½ tsp red pepper flakes (optional)
👨🍳Directions
-
1 Preheat oven to 425°F (220°C). Line a sheet pan with parchment paper.
-
2 In a small bowl, mix olive oil, paprika, garlic powder, onion powder, salt, and black pepper. Rub the mixture evenly over the chicken thighs, coating them well.
-
3 In another bowl, whisk together honey, soy sauce, ketchup, minced garlic, apple cider vinegar, Dijon mustard, and red pepper flakes (if using).
-
4 Arrange the chicken thighs on the sheet pan in a single layer, leaving space between them.
-
5 Pour the glaze over the chicken thighs and toss gently to coat. Spread the glaze evenly over the chicken.
-
6 Bake for 25-30 minutes or until the chicken reaches an internal temperature of 165°F (74°C) and the skin is crispy.
🔧Equipment
- Mixing bowl
- Sheet pan
- Baking sheet
- Oven
- Knife
- Cutting board
- Measuring spoons
📊Nutrition Facts (per serving)
📝Notes
Watch Video Of How Sheet Pan Honey Garlic Glazed Chicken Thighs Works
This sheet pan chicken thigh recipe is always a lifesaver because it’s foolproof—no fancy skills or cleanup headaches, just crispy skin and juicy meat in one easy step. Whether you’re feeding a big family for a holiday meal or just need a quick, impressive dish for a casual dinner, these thighs stay tender and flavorful without extra effort. Plus, they’re perfect for potlucks or game days because they’re hearty, easy to serve, and always turn out delicious no matter how often you make them.
Click here for: taste of home chicken pot pie recipe
❓ Frequently Asked Questions About Sheet Pan Honey Garlic Glazed Chicken Thighs
What is the best way to prepare sheet pan chicken thighs for cooking?
The best way to prepare sheet pan chicken thighs is to season them generously with salt, pepper, and your choice of spices (like paprika, garlic powder, onion powder, or Italian seasoning). Pat them dry with paper towels to ensure crispiness, then toss them lightly with olive oil or avocado oil. For extra flavor, you can marinate them in a mixture of olive oil, lemon juice, minced garlic, and herbs like rosemary or thyme for at least 30 minutes before baking.
—
How long should I bake the chicken thighs on the sheet pan?
For perfectly baked sheet pan chicken thighs, preheat your oven to 425°F (220°C) and bake them for 20–25 minutes, depending on thickness. The internal temperature should reach 165°F (74°C) when using a meat thermometer. If your thighs are thicker, you may need up to 30 minutes—just check doneness and avoid overcooking to keep them juicy.
—
Can I add vegetables to the sheet pan with the chicken thighs?
Absolutely! A classic sheet pan meal pairs well with veggies like bell peppers, zucchini, broccoli, potatoes, or even Brussels sprouts. Toss them in olive oil, salt, and pepper, then arrange them around or alongside the chicken. For extra flavor, sprinkle with garlic powder, dried herbs, or a pinch of red pepper flakes. This makes for a one-pan wonder with minimal cleanup!
—
Why are my chicken thighs sticking to the sheet pan?
Sticking usually happens when the pan isn’t preheated enough or the chicken isn’t dry enough. To prevent sticking: 1. Preheat the pan thoroughly (425°F+ is ideal). 2. Pat the chicken dry with paper towels before seasoning. 3. Use a non-stick pan or lightly grease it with oil. 4. Flip halfway (around 12–15 minutes) if needed for even browning. If the pan is still sticking, try brushing it with a little oil before adding the chicken.
—
How can I make sure the chicken thighs are cooked through without drying out?
To keep chicken thighs juicy while ensuring they’re fully cooked: – Don’t overcrowd the pan—leave space so they cook evenly. – Bake at a high temperature (425°F) for a crispy exterior while cooking through. – Check internal temp with a meat thermometer (165°F is safe). – Baste with pan juices occasionally by spooning melted fat over them. – Rest for 5 minutes before serving to redistribute juices. For extra moisture, consider adding a splash of broth or lemon juice to the pan during baking.